JavaScript + Wagmi (recommended)
Get started with MetaMask SDK in your web application.
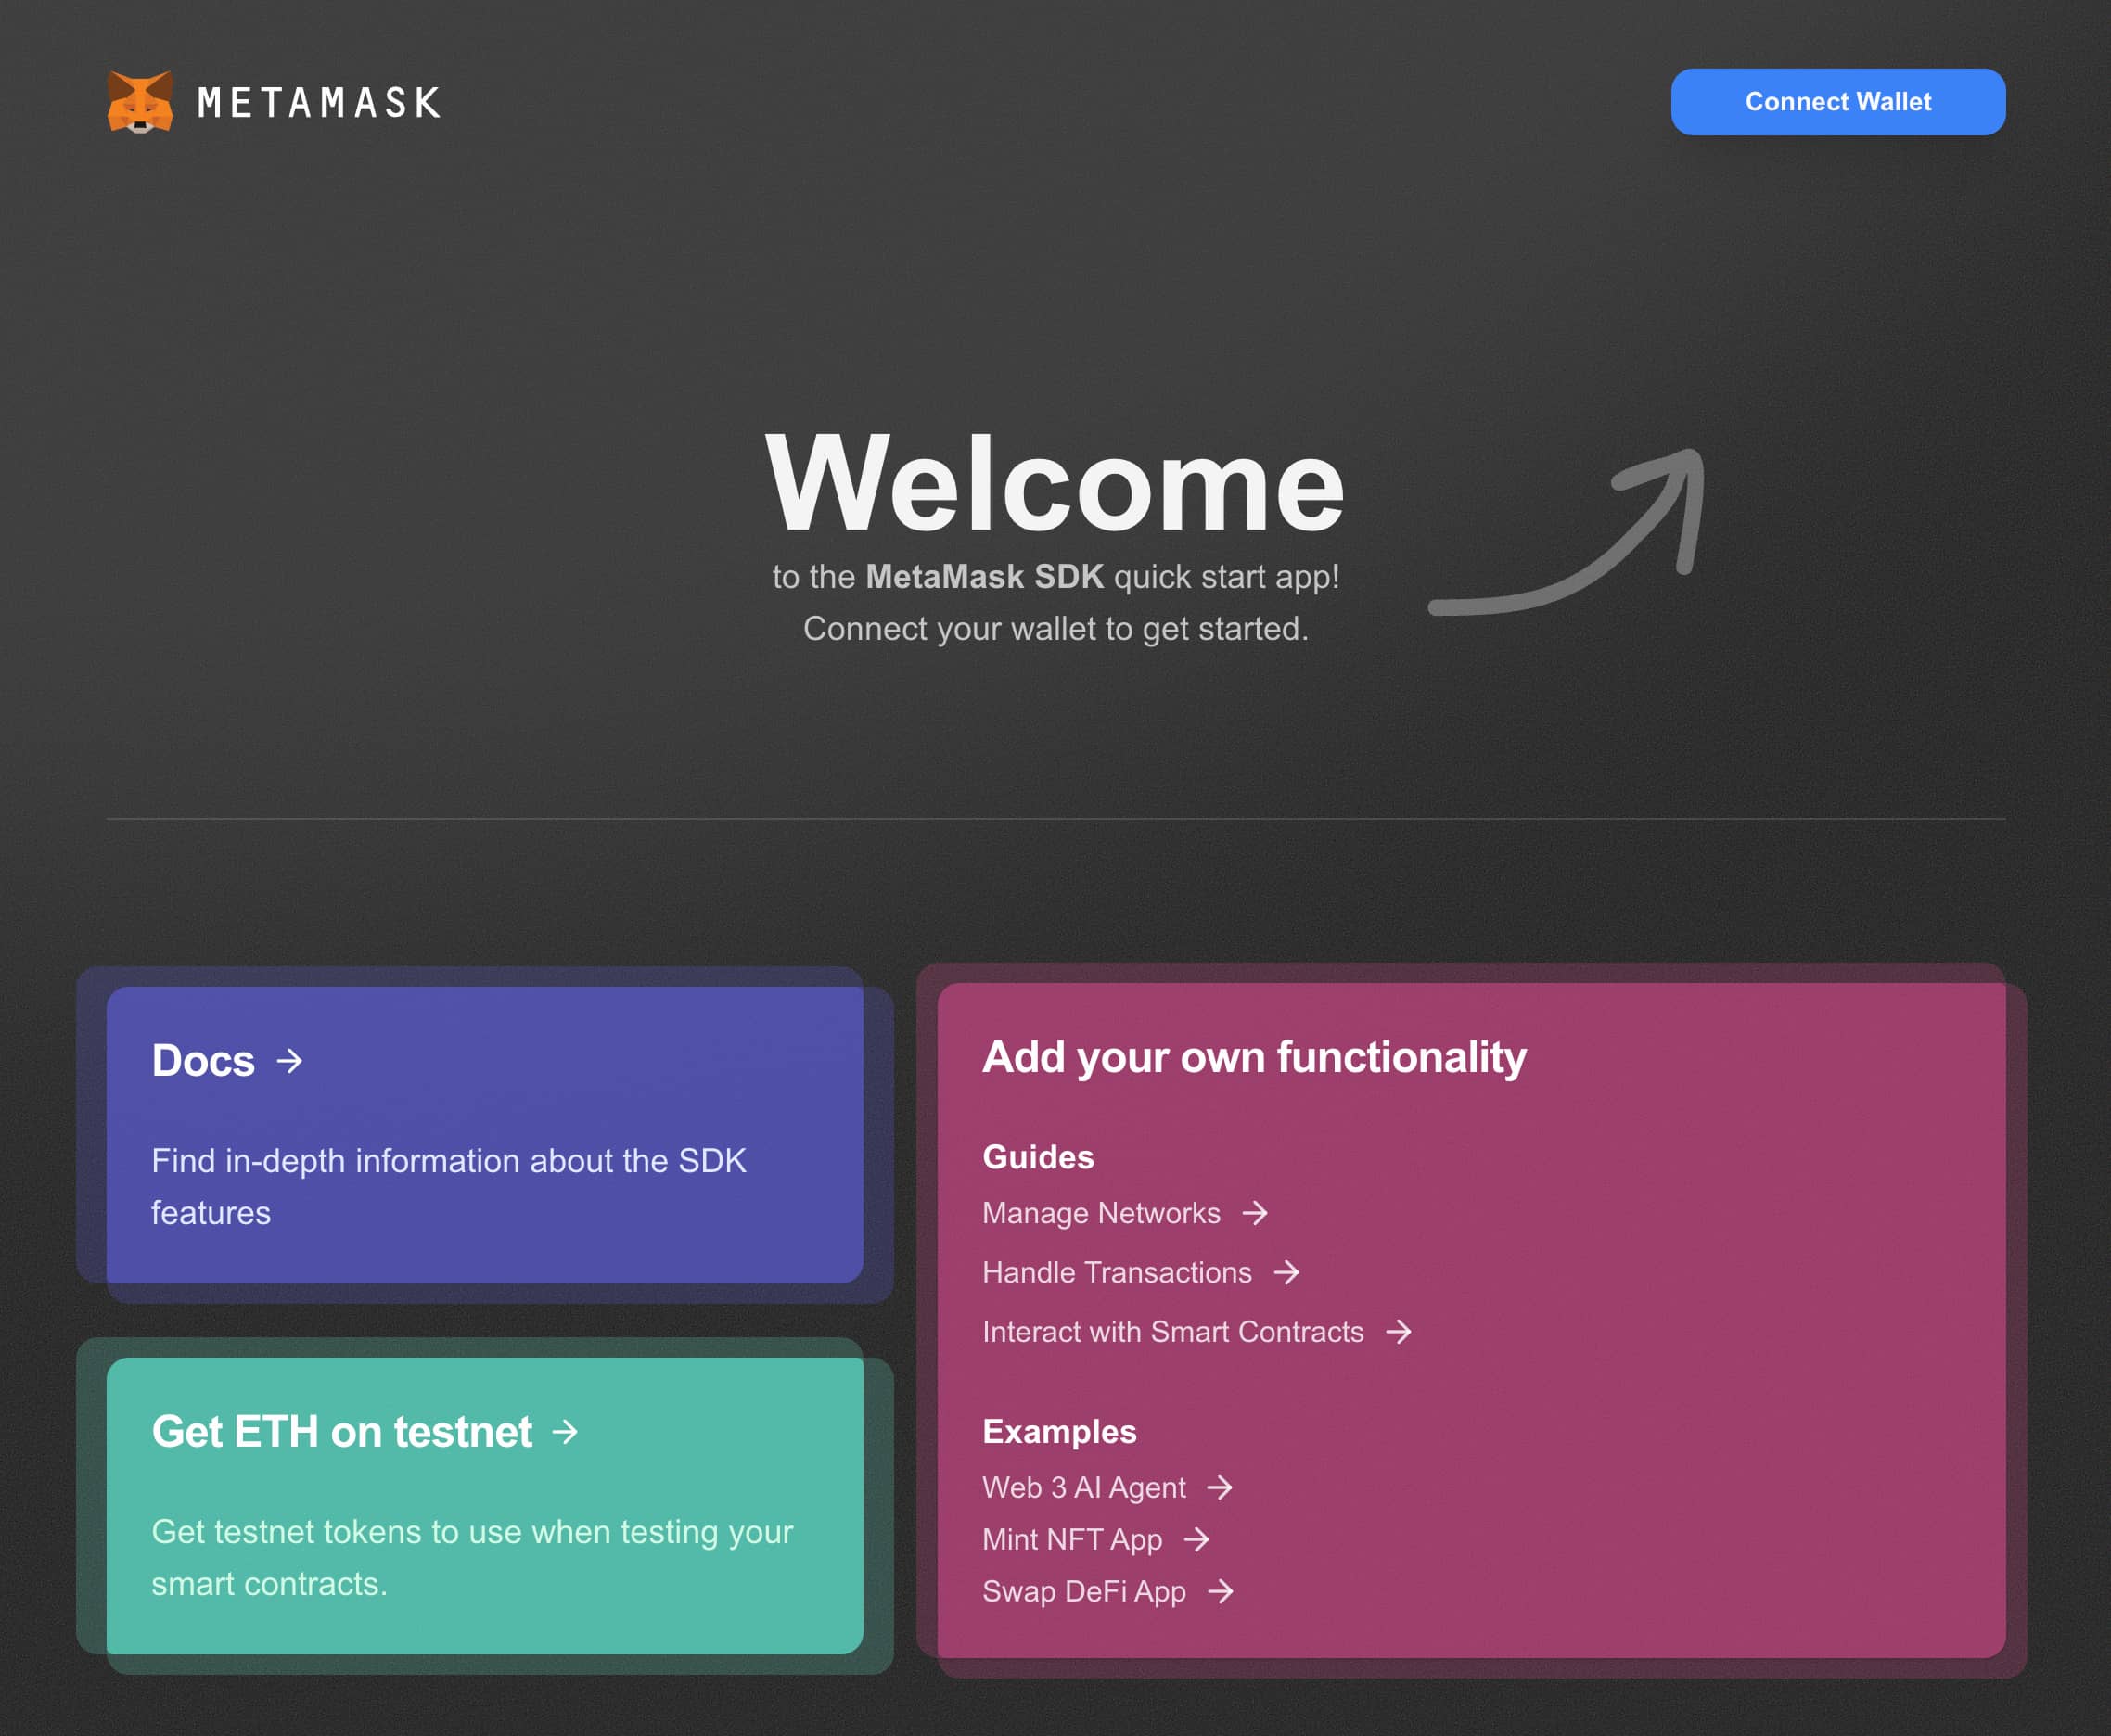
This quickstart app demonstrates how to integrate the MetaMask SDK with a Next.js application using wagmi.
Features
- Wallet Connection: Connect to MetaMask wallet seamlessly.
- Network Switching: Switch between Ethereum networks like Linea Sepolia, Linea, and Mainnet.
- Interactive UI: Responsive design with interactive cards guiding users.
- Modular Components: Easy-to-understand and customizable components.
Setup via template
Download directly from our examples repository:
git clone https://github.com/metamask/metamask-sdk-examples.git
Change directory to the quickstart example:
cd metamask-sdk-examples/examples/quickstart/
Install dependencies:
pnpm install
Run the project:
pnpm dev
Congratulations! You've successfully set up the MetaMask SDK with wagmi. Now it's time to add your own functionality.
Manual setup
Installation
Install MetaMask SDK along with its peer dependencies to an existing React project:
pnpm install @metamask/sdk wagmi viem@2.x @tanstack/react-query
Import required dependencies
Go to the root of your project and import the required dependencies:
import { QueryClient, QueryClientProvider } from '@tanstack/react-query';
import { http, WagmiProvider, createConfig } from 'wagmi';
import { mainnet, linea, lineaSepolia } from "wagmi/chains";
import { metaMask } from 'wagmi/connectors';
Configure
Set up your configuration with desired chains and connectors.
const config = createConfig({
  ssr: true, // make sure to enable this for server-side rendering (SSR) applications
  chains: [mainnet, linea, lineaSepolia],
  connectors: [metaMask()],
  transports: {
    [mainnet.id]: http(),
    [linea.id]: http(),
    [lineaSepolia.id]: http(),
  },
});
Set up providers
Wrap your application with the necessary providers:
const client = new QueryClient();

const App = () => {
  return (
    <WagmiProvider config={config}>
      <QueryClientProvider client={client}>
        <Component {...pageProps} />
      </QueryClientProvider>
    </WagmiProvider>
  );
}
Add the connect button
Add the wallet connect and disconnect buttons to your application:
import { useAccount, useConnect, useDisconnect } from 'wagmi'

export const ConnectButton = () => {
  const { address } = useAccount()
  const { connectors, connect } = useConnect()
  const { disconnect } = useDisconnect()

  return (
    <div>
      {address ? (
        <button onClick={() => disconnect()}>Disconnect</button>
      ) : (
        connectors.map((connector) => (
          <button key={connector.uid} onClick={() => connect({ connector })}>
            {connector.name}
          </button>
        ))
      )}
    </div>
  )
}
Once you've added the connect button, you can test your app by running npm run dev or pnpm run dev or yarn dev.
It should work with the extension installed or the mobile app.
Production readiness
For production deployments, it's important to use reliable RPC providers instead of public nodes. We recommend using services like Infura to ensure better reliability and performance.
This is how you can configure your RPC endpoints via the Wagmi config:
const config = createConfig({
  // ... other config options
  transports: {
    [mainnet.id]: http("https://mainnet.infura.io/v3/YOUR-API-KEY"),
    [sepolia.id]: http("https://sepolia.infura.io/v3/YOUR-API-KEY"),
  },
});
Sign up here to Infura for a free account and get your API key.
Add your own functionality
Now that you have the basic setup complete, check out these guides to add your own functionality:
More examples
Check out our example repository for more metamask-sdk-examples
